Backend
We've already integrated Auth0 in the previous chapters, now it's time to write our backend APIs. We've decided (in the previous chapters) to use Slash GraphQL to manage and store our entities.
Our plan:
- Create a new
Slash GraphQLbackend. - Define our backend entities and GraphQL endpoint by writing GraphQL schema.
- Add test data.
- Test our endpoint by simple read queries.
- Implement communication between the frontend and backend through GraphQL protocol.
- Authorization - each user can access only his data.
1. New Slash GraphQL backend
Slash Graphql is currently developer preview. So it's free, however you need to get invitation. Try my invitation page or if it doesn't work write me your email (on chat or
martin@kavik.cz) and I'll invite you manually. Or you can request an invitation on their homepage.Log in to Slash administration and you should see something like:
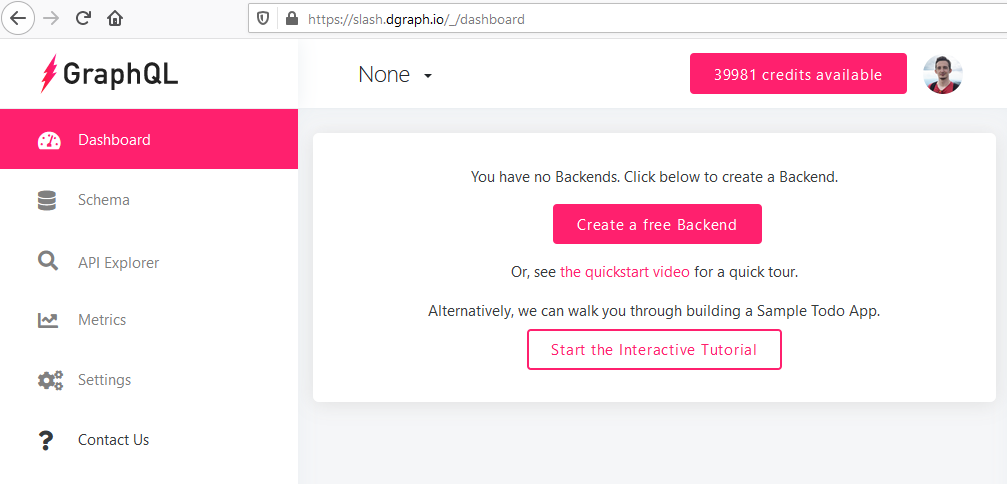
Click the button
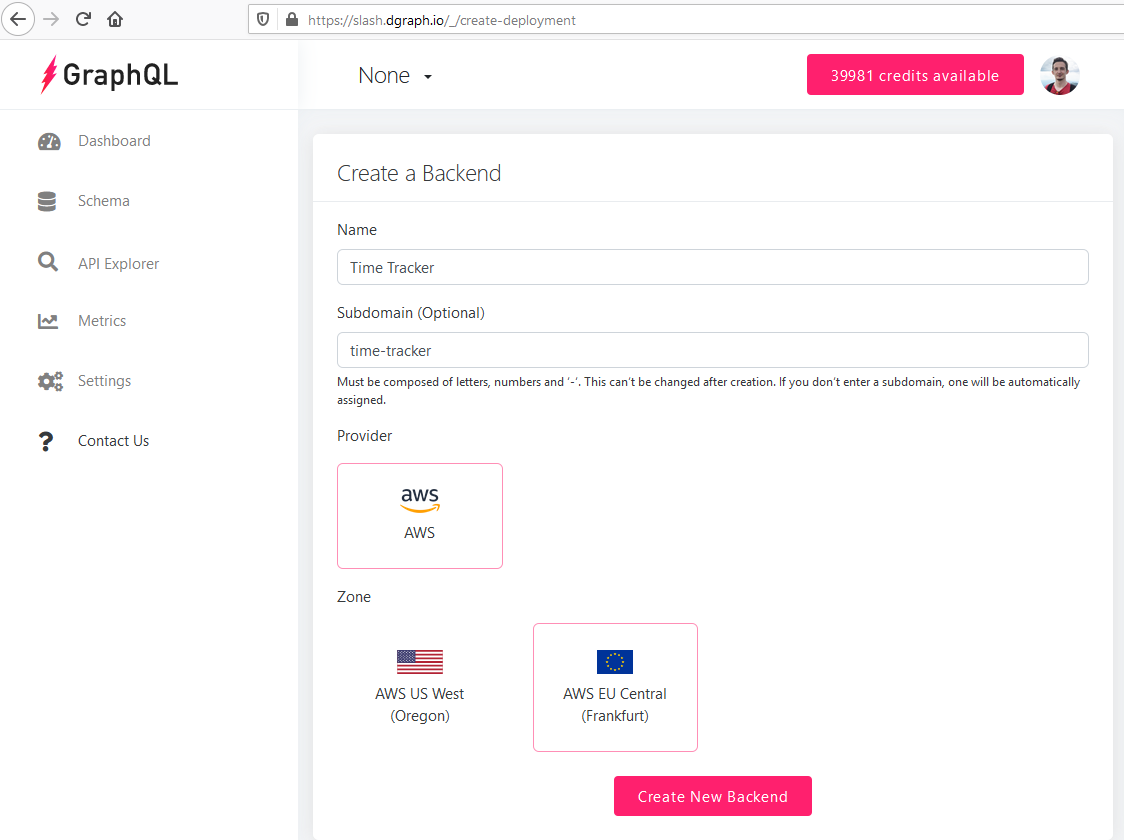
Create a free Backendor click the dropdown at the top with the valueNoneand then onCreate a Backend.Fill the form:
- Name:
Time Tracker - Subdomain: Something like
time-trackerthat doesn't exist yet. - Pick the
Providerand itsZone. - Confirm by
Create New Backend.
- Name:
Click
Create your Schema: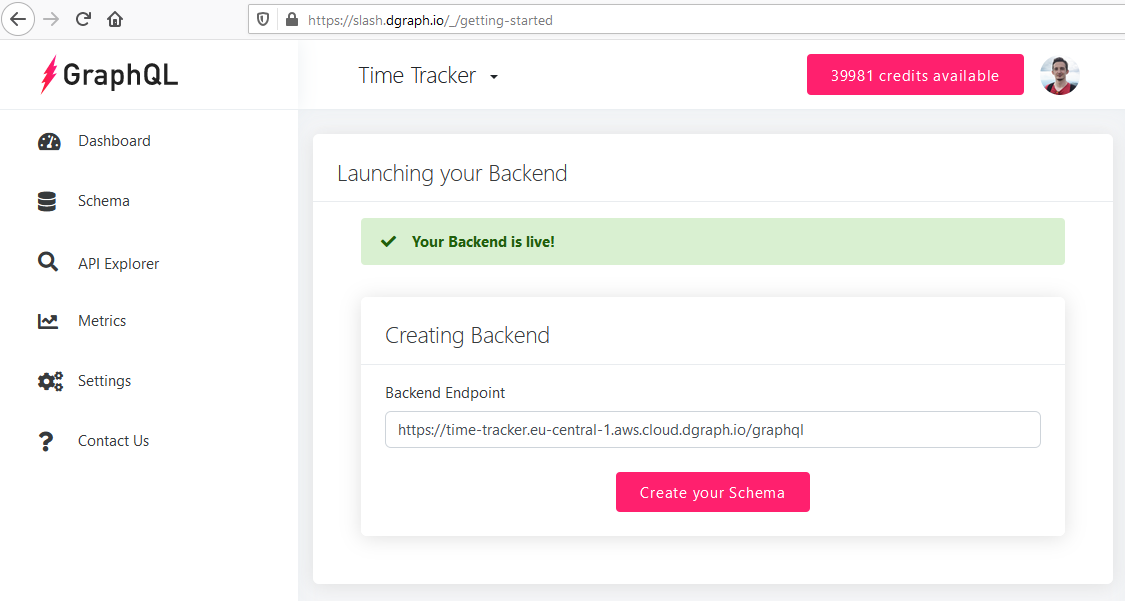
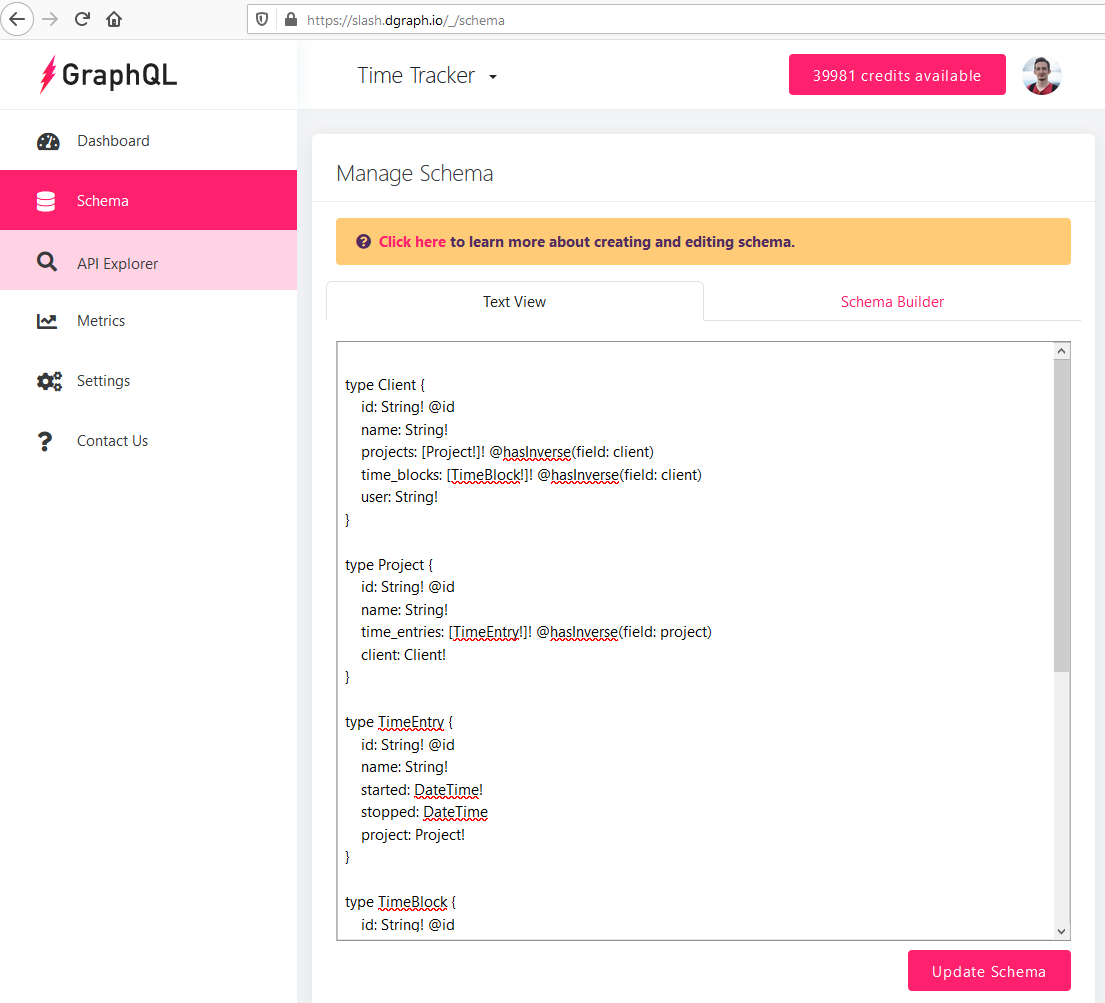
2. GraphQL schema
The schema is basically our Rust Models rewritten to GraphQL with some Slash GraphQL extensions.
type Client {
    id: String! @id
    name: String!
    projects: [Project!]! @hasInverse(field: client)
    time_blocks: [TimeBlock!]! @hasInverse(field: client)
    user: String!
}

type Project {
    id: String! @id
    name: String!
    time_entries: [TimeEntry!]! @hasInverse(field: project)
    client: Client!
}

type TimeEntry {
    id: String! @id
    name: String!
    started: DateTime!
    stopped: DateTime
    project: Project!
}

type TimeBlock {
    id: String! @id
    name: String!
    status: TimeBlockStatus!
    duration: Int!
    invoice: Invoice @hasInverse(field: time_block)
    client: Client!
}

enum TimeBlockStatus {
  NON_BILLABLE
  UNPAID
  PAID
}

type Invoice {
  id: String! @id
  custom_id: String
  url: String
  time_block: TimeBlock!
}
Clientfielduserrepresents Auth0 User id. It will be used during authorization as soon as we integrate it.- Directive
@hasInversedocs. - Directive
@iddocs. We can't useIDbecause we want to define ids in our app and it'll also make creating test data easier as a nice side-effect.
Write the schema into the textarea on the page
Schema:- Note: There is a bug at the time of writing in the Slash's administration -
Schema Builderdoesn't work, probably because it fails while it's parsingenum.
- Note: There is a bug at the time of writing in the Slash's administration -
Save it by
Update Schema.
3. Test data
Click
API Explorer(either in theSuccessdialog or in the main side menu).Insert the
mutation. Generate ids by ulidgenerator.com:- Note: You can press
Ctrl + Spaceto show autocomplete suggestions. AndCtrl + /to comment/uncomment selected text.
mutation { addClient(input: [{ id: "01EG14HC157VEJ8DWMSKBEDGY5", name: "Client A", projects: [], time_blocks: [], user: "HARDCODED_USER_ID", }]) { numUids } addProject(input: [{ id: "01EG14HRYJ6SRC6NNK8AV4J7NC", name: "Project 1", time_entries: [], client: { id: "01EG14HC157VEJ8DWMSKBEDGY5" }, }, { id: "01EG14J2MW4N92WGBRAE79S134", name: "Project 2", time_entries: [], client: { id: "01EG14HC157VEJ8DWMSKBEDGY5" }, }]) { numUids } addTimeEntry(input: [{ id: "01EG14JB1NR008D032E2GHXD6G", name: "Time Entry X", started: "2020-01-15T15:53:39Z", stopped: null, project: { id: "01EG14HRYJ6SRC6NNK8AV4J7NC" }, }, { id: "01EG14JJGVEVKM9K5ET99W40R9", name: "Time Entry Y", started: "2020-01-15T16:58:20Z", stopped: "2020-01-15T17:25:23Z", project: { id: "01EG14J2MW4N92WGBRAE79S134" }, }]) { numUids } addTimeBlock(input: [{ id: "01EG14JTR0VP8J2FN45RZ92VEX", name: "Time Block X", status: UNPAID, duration: 72000, # 20h * 3600 invoice: null, client: { id: "01EG14HC157VEJ8DWMSKBEDGY5" }, }, { id: "01EG14JZ9AHFDNXQ48TKY721YA", name: "Time Block Y", status: UNPAID, duration: 72000, # 20h * 3600 invoice: null, client: { id: "01EG14HC157VEJ8DWMSKBEDGY5" }, }]) { numUids } addInvoice(input: [{ id: "01EG14K58V0YS7K48B7VS6345R", custom_id: "5-2020", url: "https://example.com/my_invoice.pdf", time_block: { id: "01EG14JZ9AHFDNXQ48TKY721YA" }, }]) { numUids } }- Note: You can press
Click the "play" button or press
Ctrl + Enter: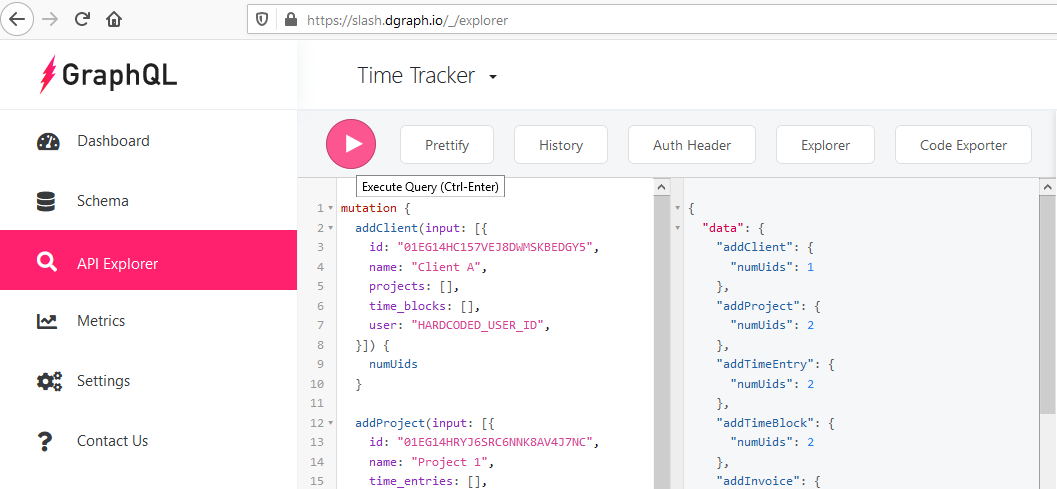
4. Simple query
Insert into the API Explorer and press the "play" button again:
{
  queryClient() {
    id
    name
    projects {
      id
      name
      time_entries {
        id
        name
        started
        stopped
      }
    }
    time_blocks {
      id
      name
      status
      duration
      invoice {
        id
        custom_id
        url
      }
    }
    user
  }
}
![]()
We have a working GraphQL endpoint!
However two steps still remain:
- Implement communication between the frontend and backend through GraphQL protocol.
- Authorization - each user can access only his data.
We'll implement communication in the next chapter and we'll focus on authorization later because it would unnecessary complicate development now.
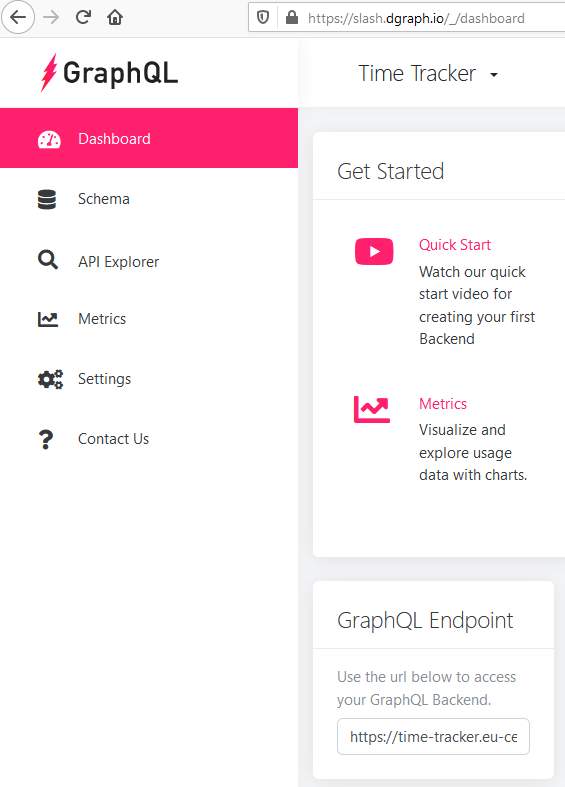
Before you move to the next chapter, please note your endpoint url:
Example:
https://time-tracker.eu-central-1.aws.cloud.dgraph.io/graphqlYou can find it on your dashboard: